What to Expect During a Roofing Replacement
Replacing a roof is one of the most significant home improvement projects a homeowner will undertake. While the prospect of a new roof is exciting, the actual process can feel overwhelming without proper preparation. Arming yourself with a step-by-step timeline makes it a bit easier and sets the tone for a smooth experience. Preparing your mind for the temporary disruption goes a long way toward a stress-free project.
Preparing Your Property for Construction
Before the crew arrives, a bit of preparation goes a long way in protecting your valuables. Homeowners should clear the driveway and move vehicles down the street to leave ample room for heavy equipment and delivery trucks. The vibrations from the installation can travel through the walls, so it is wise to remove hanging pictures, mirrors, and loose shelving inside the house. Fragile items on tables or mantels should also be packed away safely for the duration of the project.
Outdoors, you should clear your yard of patio furniture, grills, and children’s toys to prevent accidental damage from falling debris. Cutting your grass short a day before the project begins helps the crew locate dropped nails during the cleanup phase. Access to exterior electrical outlets is also helpful, as the team will need power for their tools. Checking your outdoor gates and locking up pets keeps everyone secure while the workers move around your property.
When you schedule professional roofing services, the team will typically guide you through these preparatory steps during the initial consultation. Taking these precautions protects your investments and allows the crew to work efficiently once they arrive. A clear workspace minimizes delays and sets the stage for a successful construction process. Communication with your project manager during this phase helps clarify any specific boundaries for the crew.
Removing the Old Material Safely
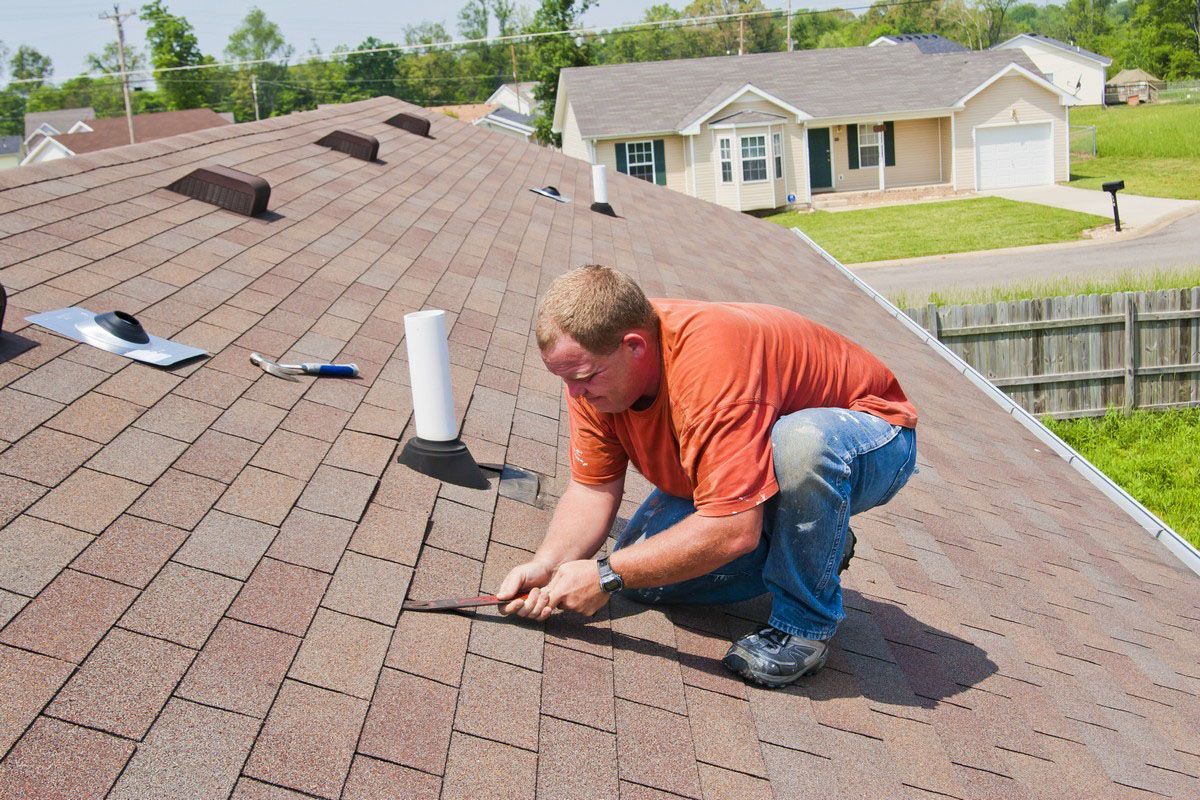
The first official day of construction begins with the teardown process, which is often the loudest and messiest phase of the project. Workers will position a large dumpster near the house to collect the old shingles, underlayment, and flashing. Tarps are usually draped over landscaping and windows to shield your home from falling debris as the old materials are pried away. This protective layering safeguards your delicate shrubs and flower beds from heavy impact.
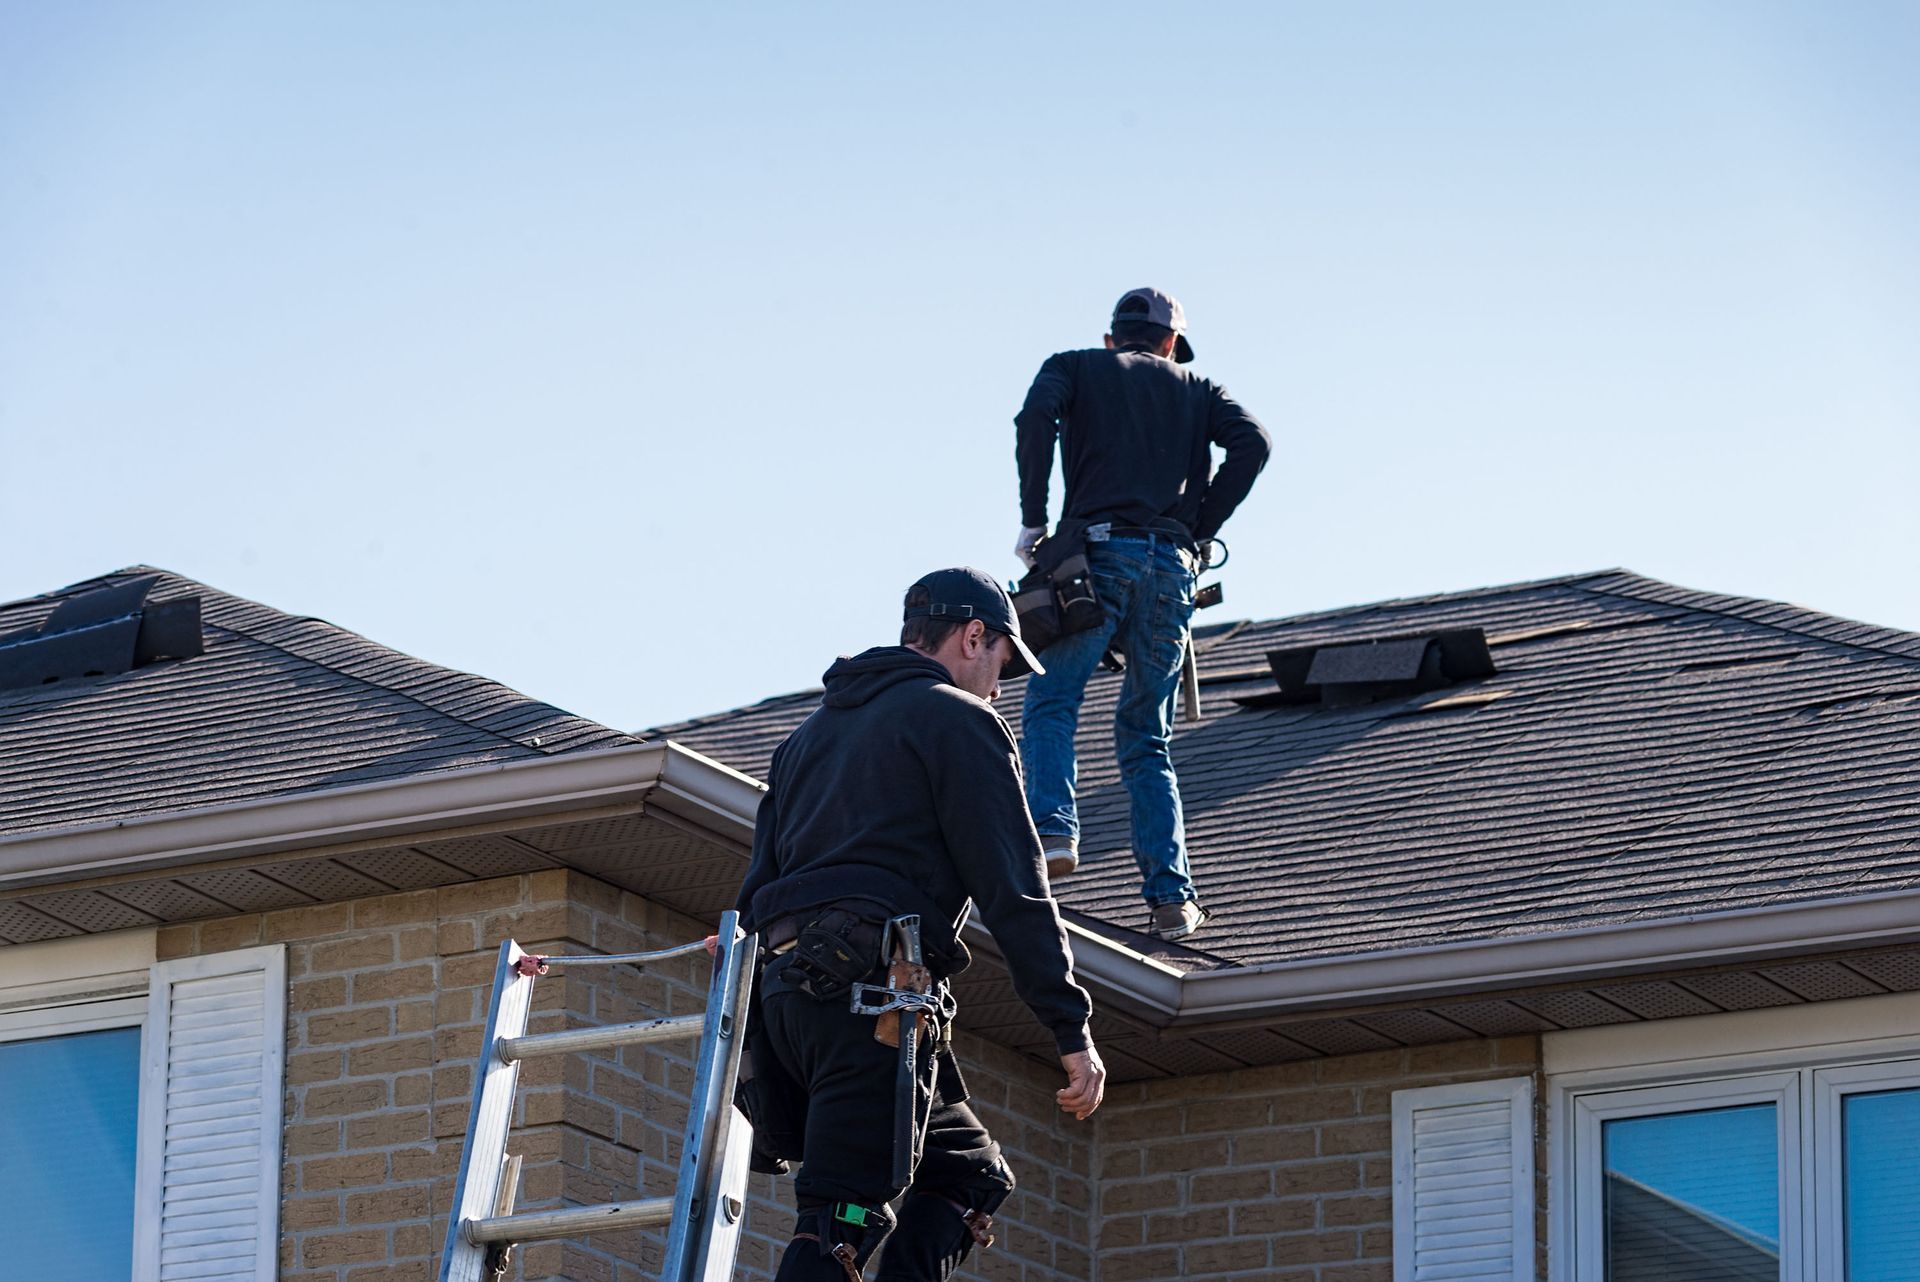
Crew members strip the roof down to the wooden decking, working in sections to manage the debris effectively. This step is vital because installing new shingles over damaged or rotting old materials compromises the integrity of the entire structure. Shingle removal requires specific tools and physical stamina, making it a core component of professional roofing services. Experienced workers know exactly how to pry up stubborn fasteners without damaging the underlying boards.
During this phase, expect a high volume of noise, including scraping sounds and heavy footsteps overhead. If you have pets or small children who are sensitive to loud noises, you might want to plan an outing for this part of the day. Once the old materials are safely in the dumpster, the crew can inspect the underlying structure. The constant coming and going of workers means your property will be highly active until the tear-off is complete.
Inspecting and Repairing the Decking
With the old shingles completely removed, the team inspects the exposed wooden decking for signs of water damage, rot, or sagging. Solid decking is crucial because it serves as the foundation for your new shingles. If the crew discovers compromised wood, they must replace those panels before proceeding with the installation. Fresh plywood provides a flat, secure surface that holds nails tightly for decades.
According to Today's Homeowner, in the upcoming five years, 40% of homeowners plan to have a roof replacement. Many of these homeowners will discover hidden water damage during this critical inspection phase. Addressing these structural issues immediately prevents future leaks and keeps the new materials secure for decades to come. Catching these flaws early protects the interior of your home from sudden ceiling leaks during heavy downpours.
Skipping this inspection or installing materials over weak wood leads to premature failure and costly repairs down the road. Quality roofing services prioritize this structural assessment to validate the safety of the entire system. Once the decking is deemed structurally sound, the team prepares to apply the protective layers. The installers will verify that every single board is securely fastened to the rafters below.
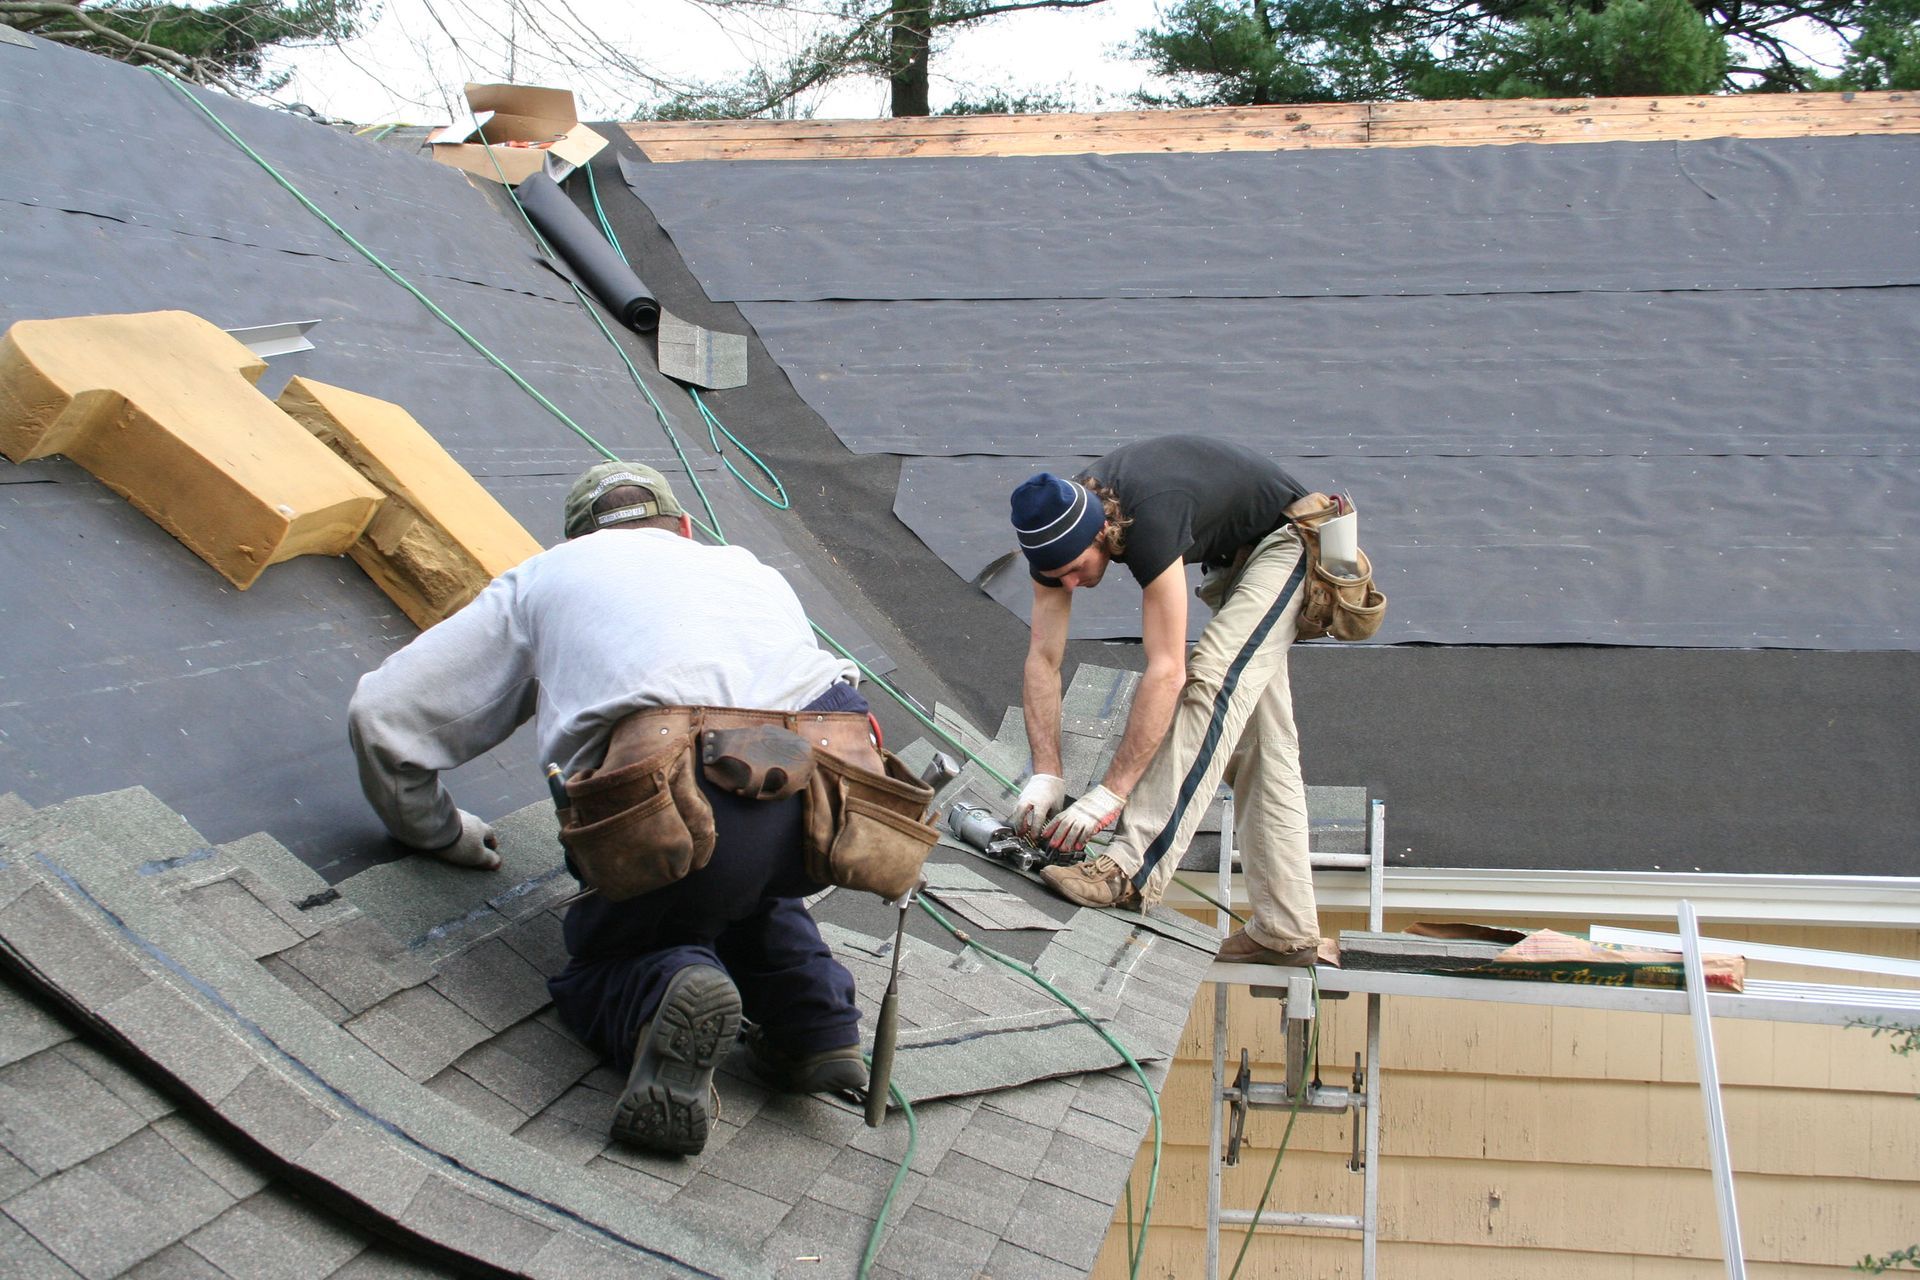
Installing the New Protective Layers
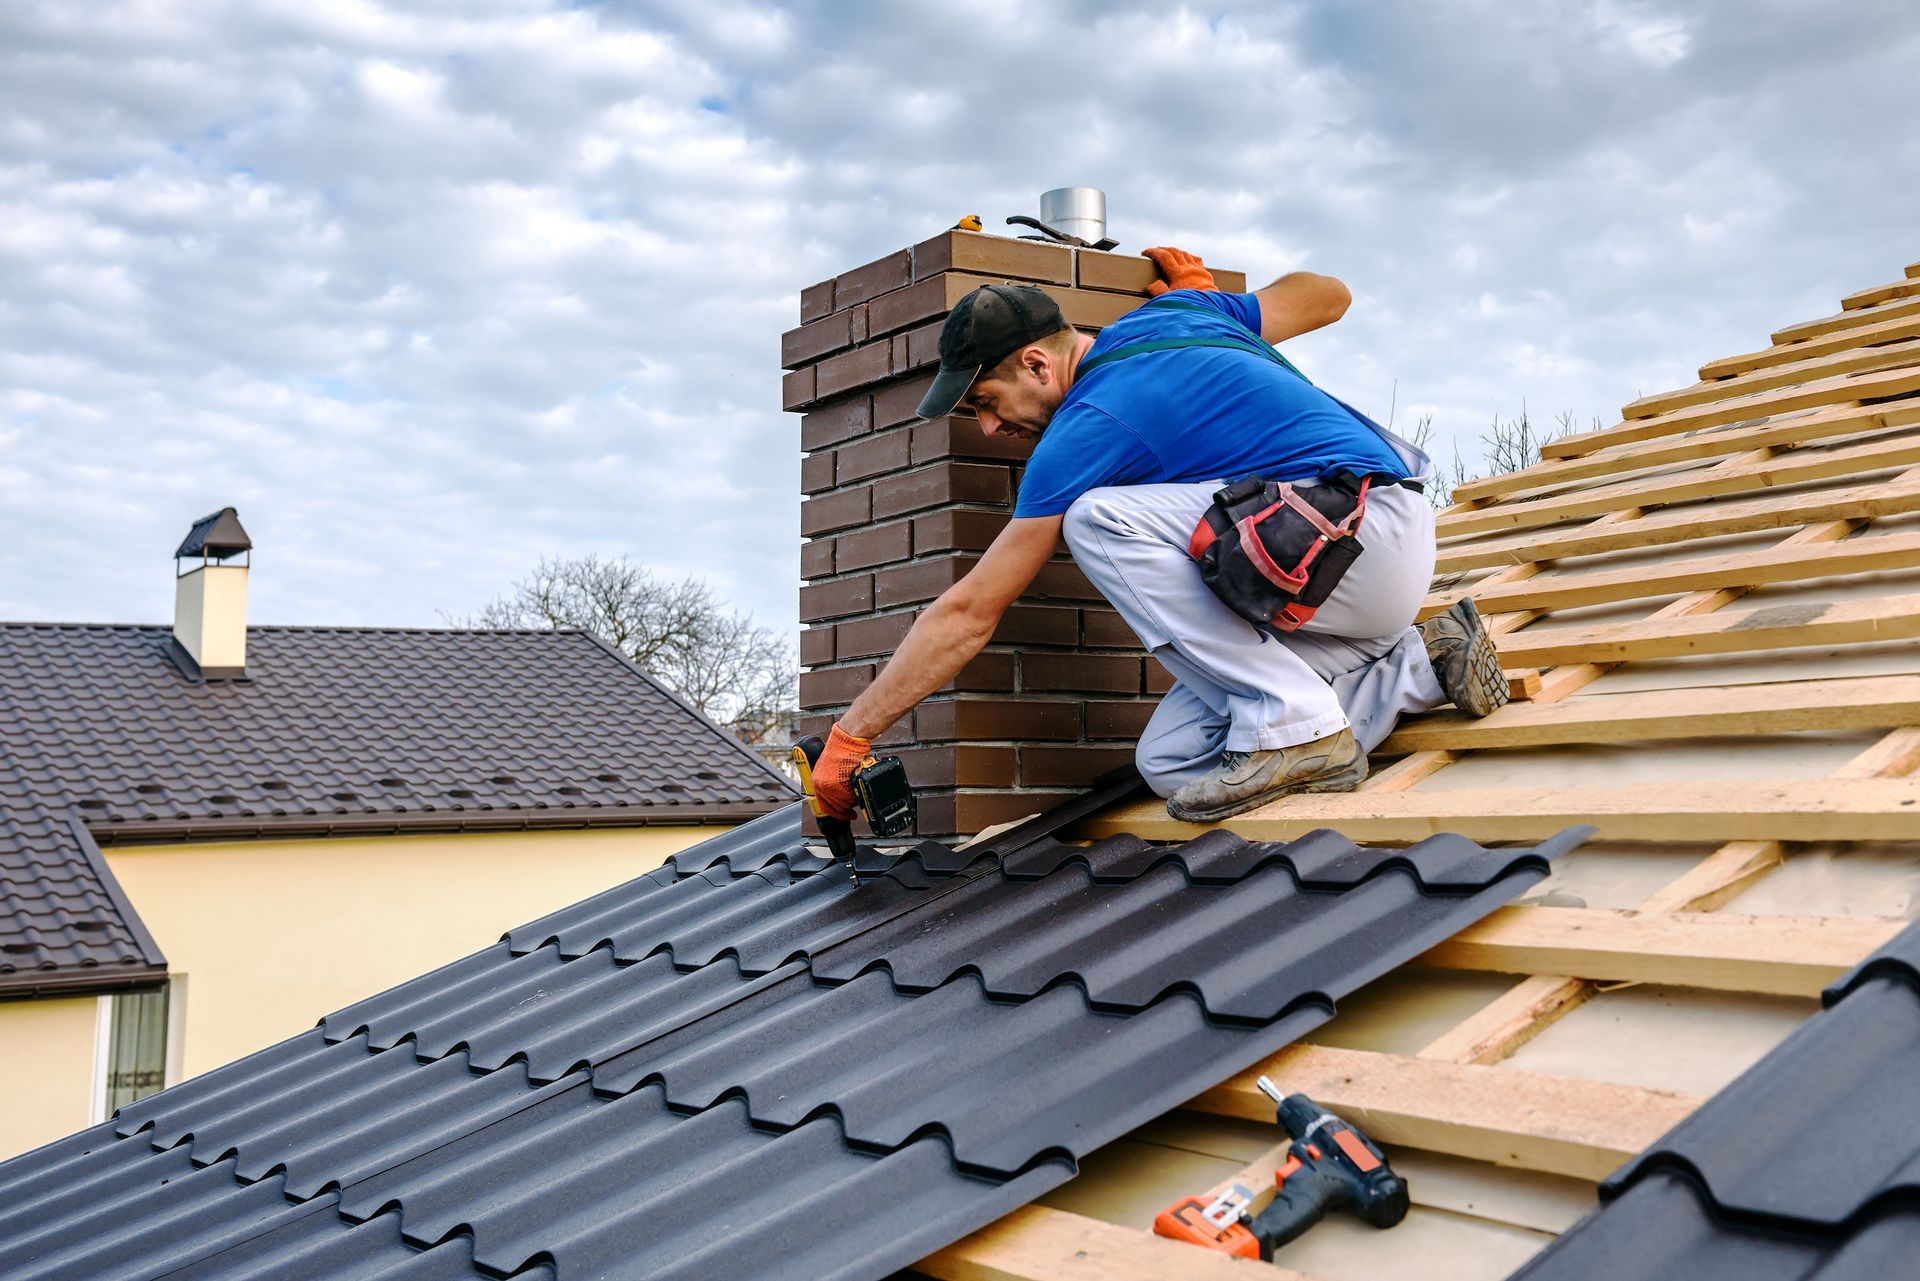
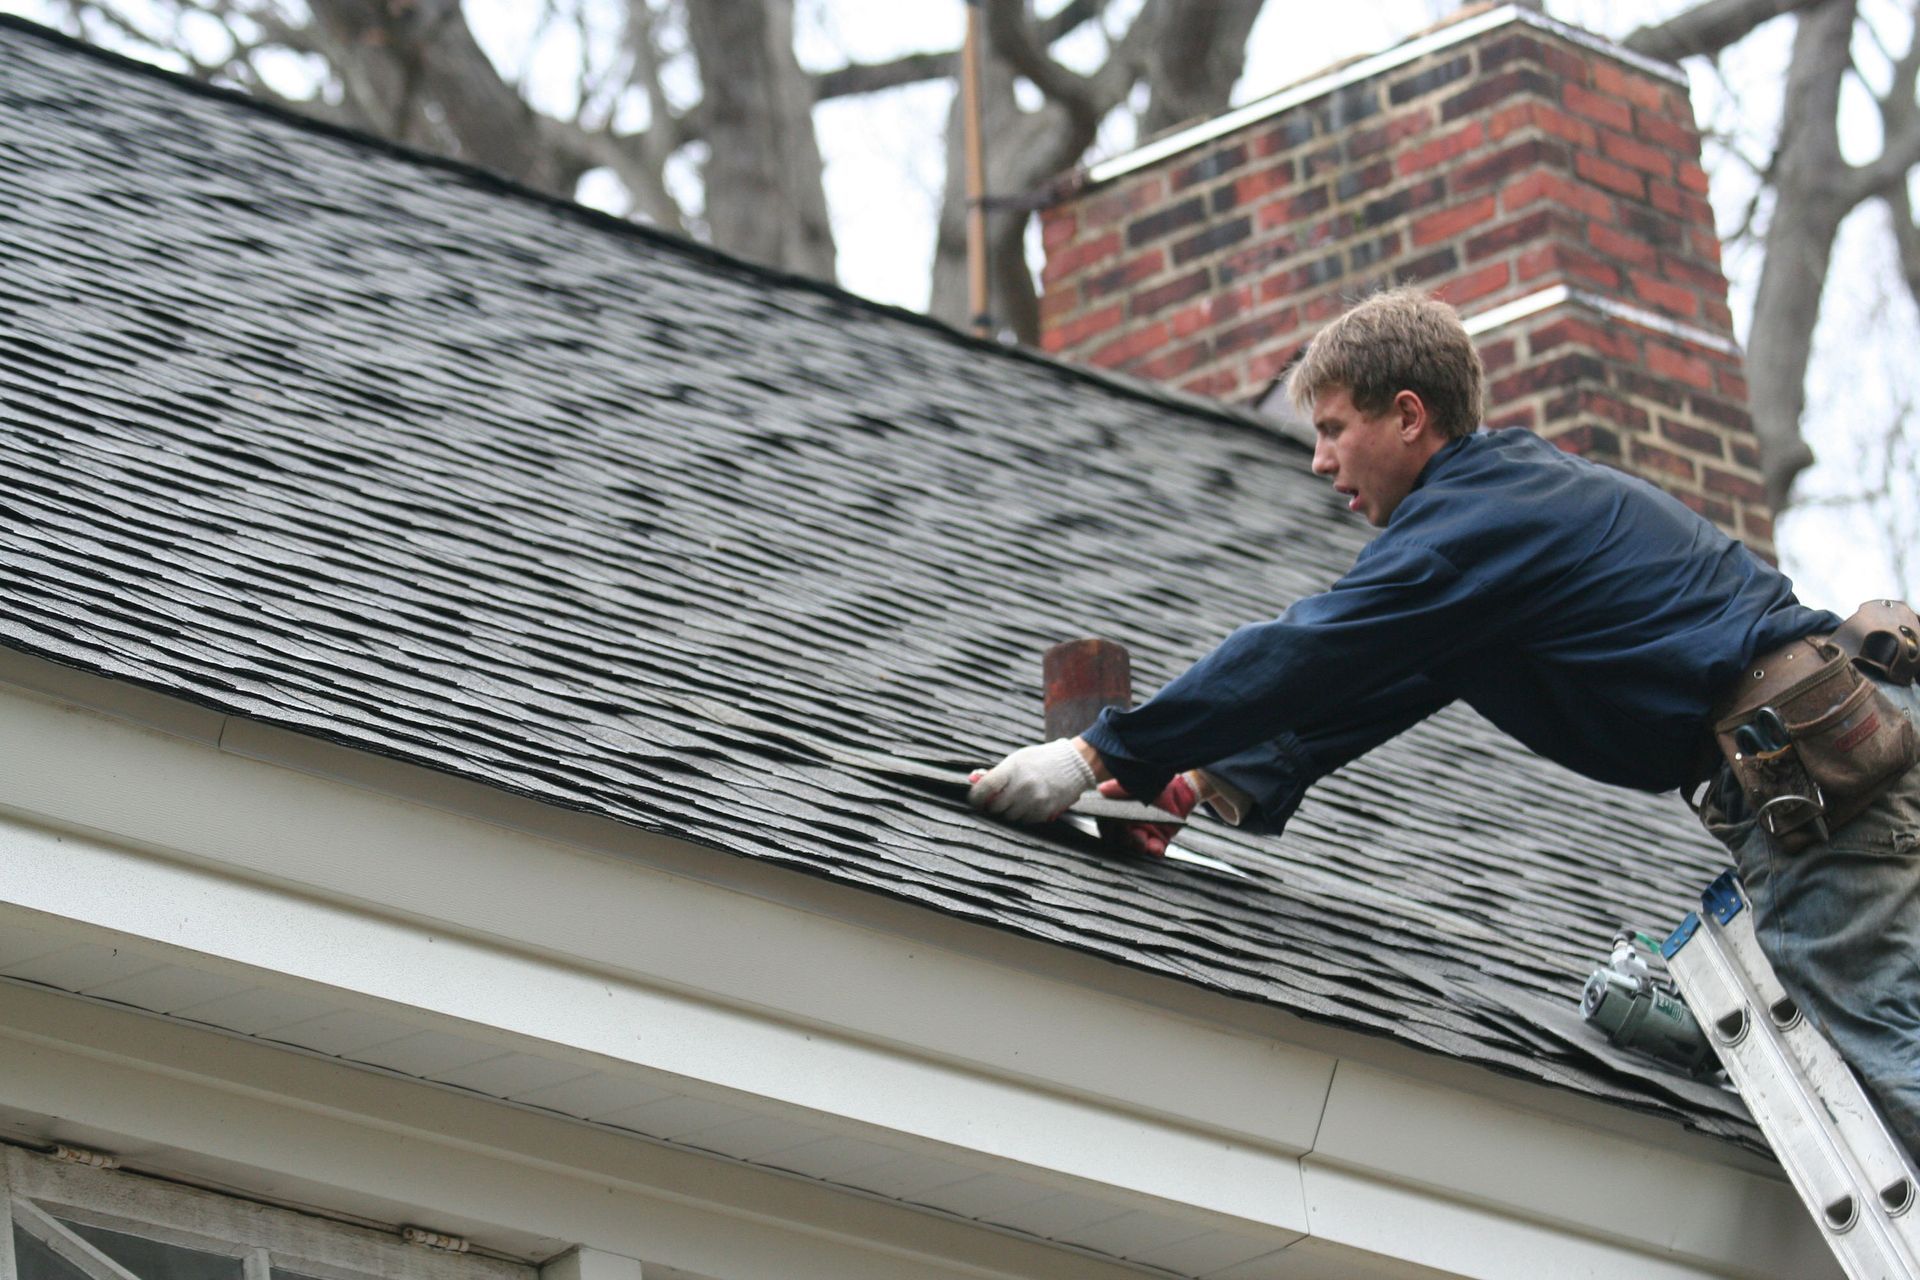
Before the final shingles are nailed down, several layers of specialized materials are applied to create a watertight barrier. The crew first installs an ice and water shield along the eaves, valleys, and rakes to protect vulnerable areas from moisture buildup. Next, a synthetic underlayment is rolled out across the entire deck to provide a secondary line of defense against wind-driven rain. This synthetic material breathes well while keeping external moisture completely out of your attic space.
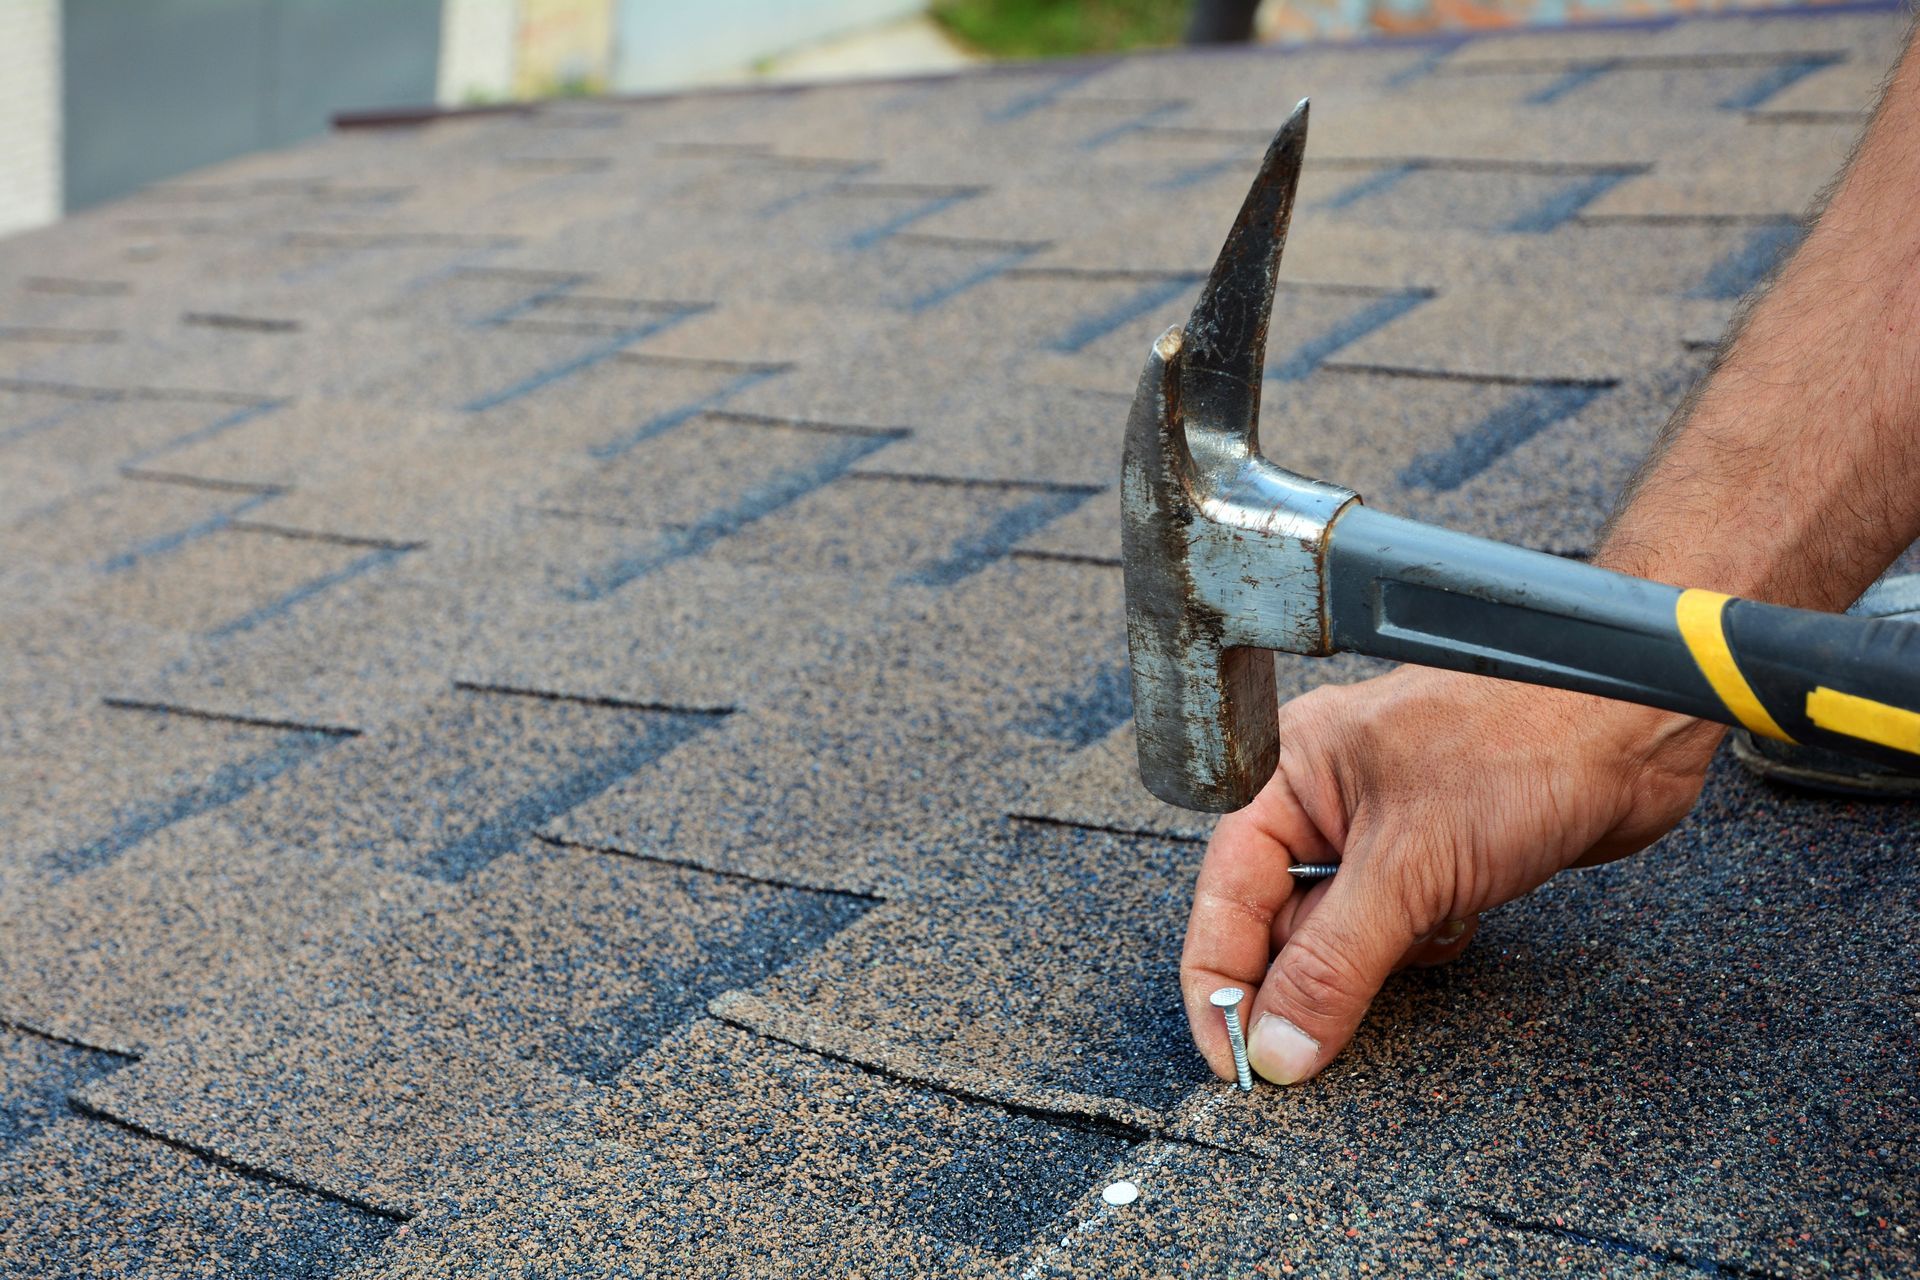
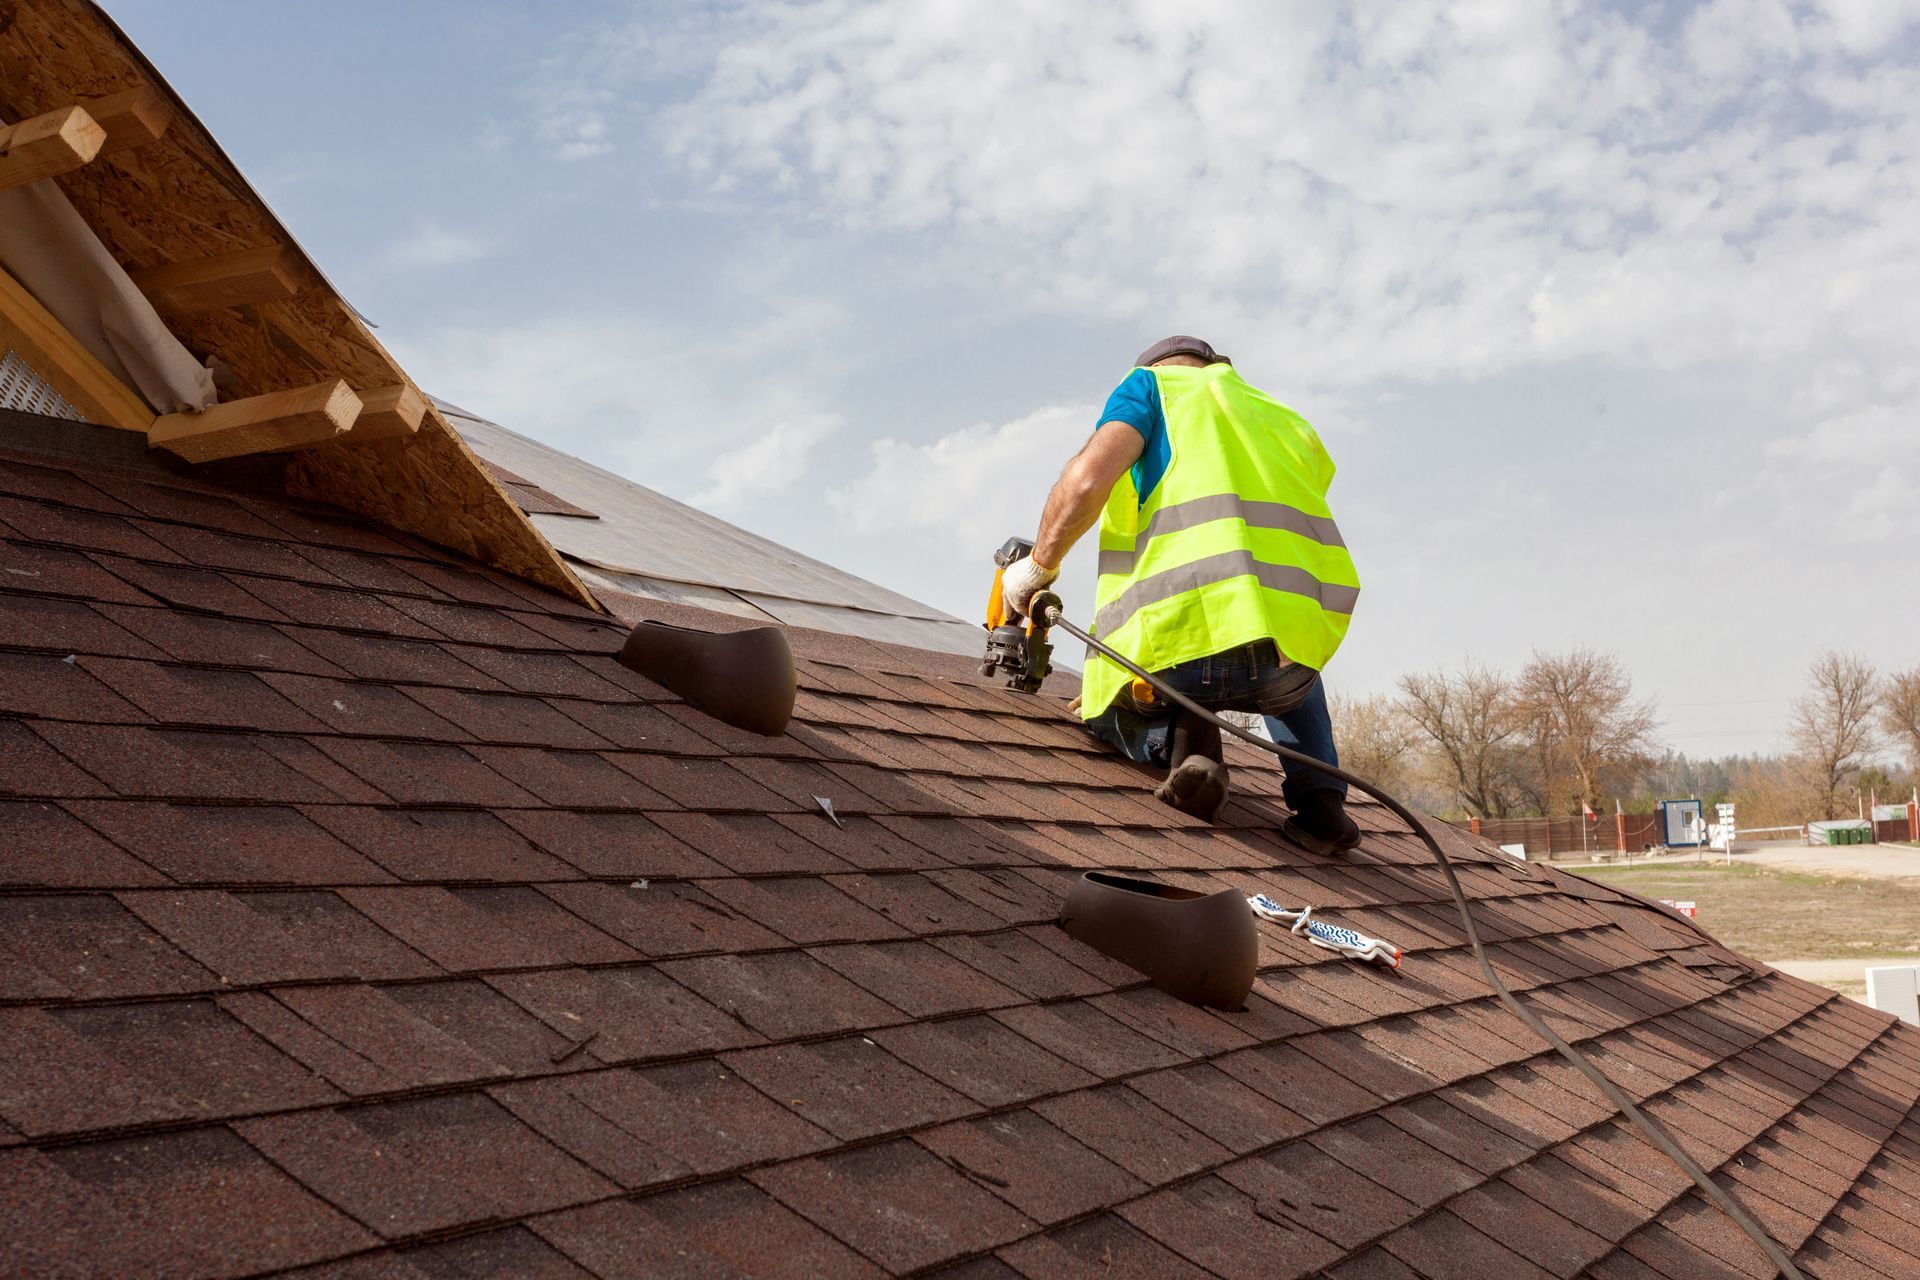
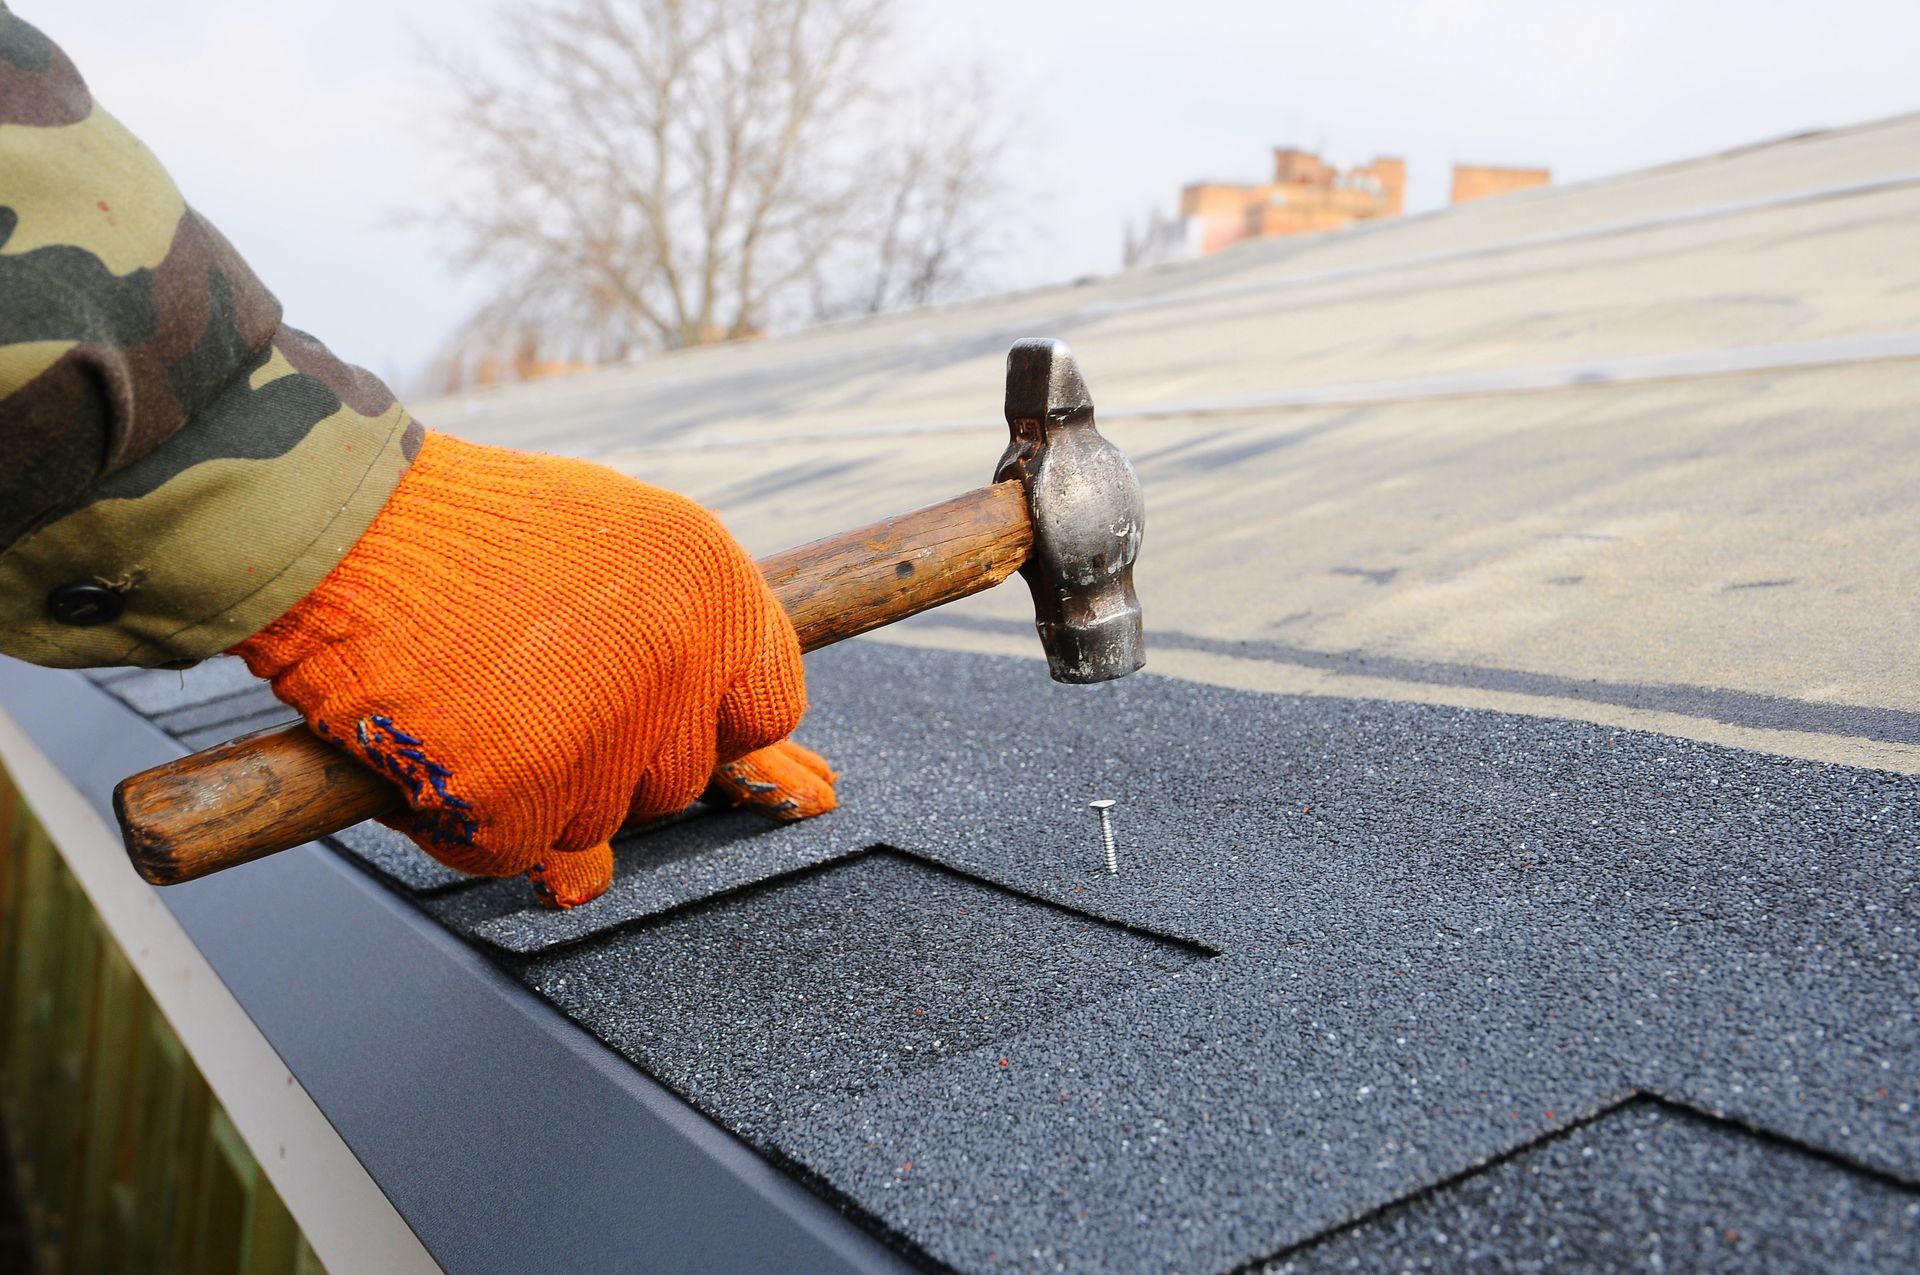
After the underlayment is secure, the team installs new drip edges and flashing around chimneys, vents, and valleys to direct water away from seams. Only after these protective components are perfectly in place do the actual shingles get nailed down. Workers use precise patterns and specific nailing techniques to maximize wind resistance and durability. Straight lines and proper spacing are critical to keeping the manufacturer's warranty fully intact.
The installation of these combined layers highlights why specialized knowledge is necessary for a long-lasting roof. Comprehensive roofing services encompass this meticulous layering process to shield your home from harsh weather elements. Watching the new shingles go up signals that the most intense part of the project is nearing completion. Each row brings your home one step closer to complete weather protection and enhanced visual appeal.
Cleaning Up the Work Zone
Once the last shingle is secured, the focus shifts to restoring your property to its original condition. The crew will gather all large pieces of debris, discarded shingles, and packaging materials for loading into the dumpster. They will use push brooms to sweep your walkways, decks, and patios clear of any accumulated dust or small wood fragments. This careful sweeping removes the fine granular dust that sheds from new shingles during handling.
A critical part of this cleanup involves running a magnetic roller over your yard, driveway, and landscaping to collect dropped nails. This magnetic sweep is done multiple times from different angles to capture as many stray fasteners as possible. A thorough cleanup is just as important as the installation itself, protecting your family and vehicle tires from sharp objects. Crew members will also check your gutters to remove any fallen debris that has gathered during construction.
A final walkthrough is performed with the project manager to review the completed work and confirm your total satisfaction. Reliable roofing services always conclude with this rigorous cleanup and inspection process to leave your property immaculate. With the debris gone, you can finally step back and admire the transformation of your home. You will receive a final breakdown of the completed project along with care instructions for your new system.
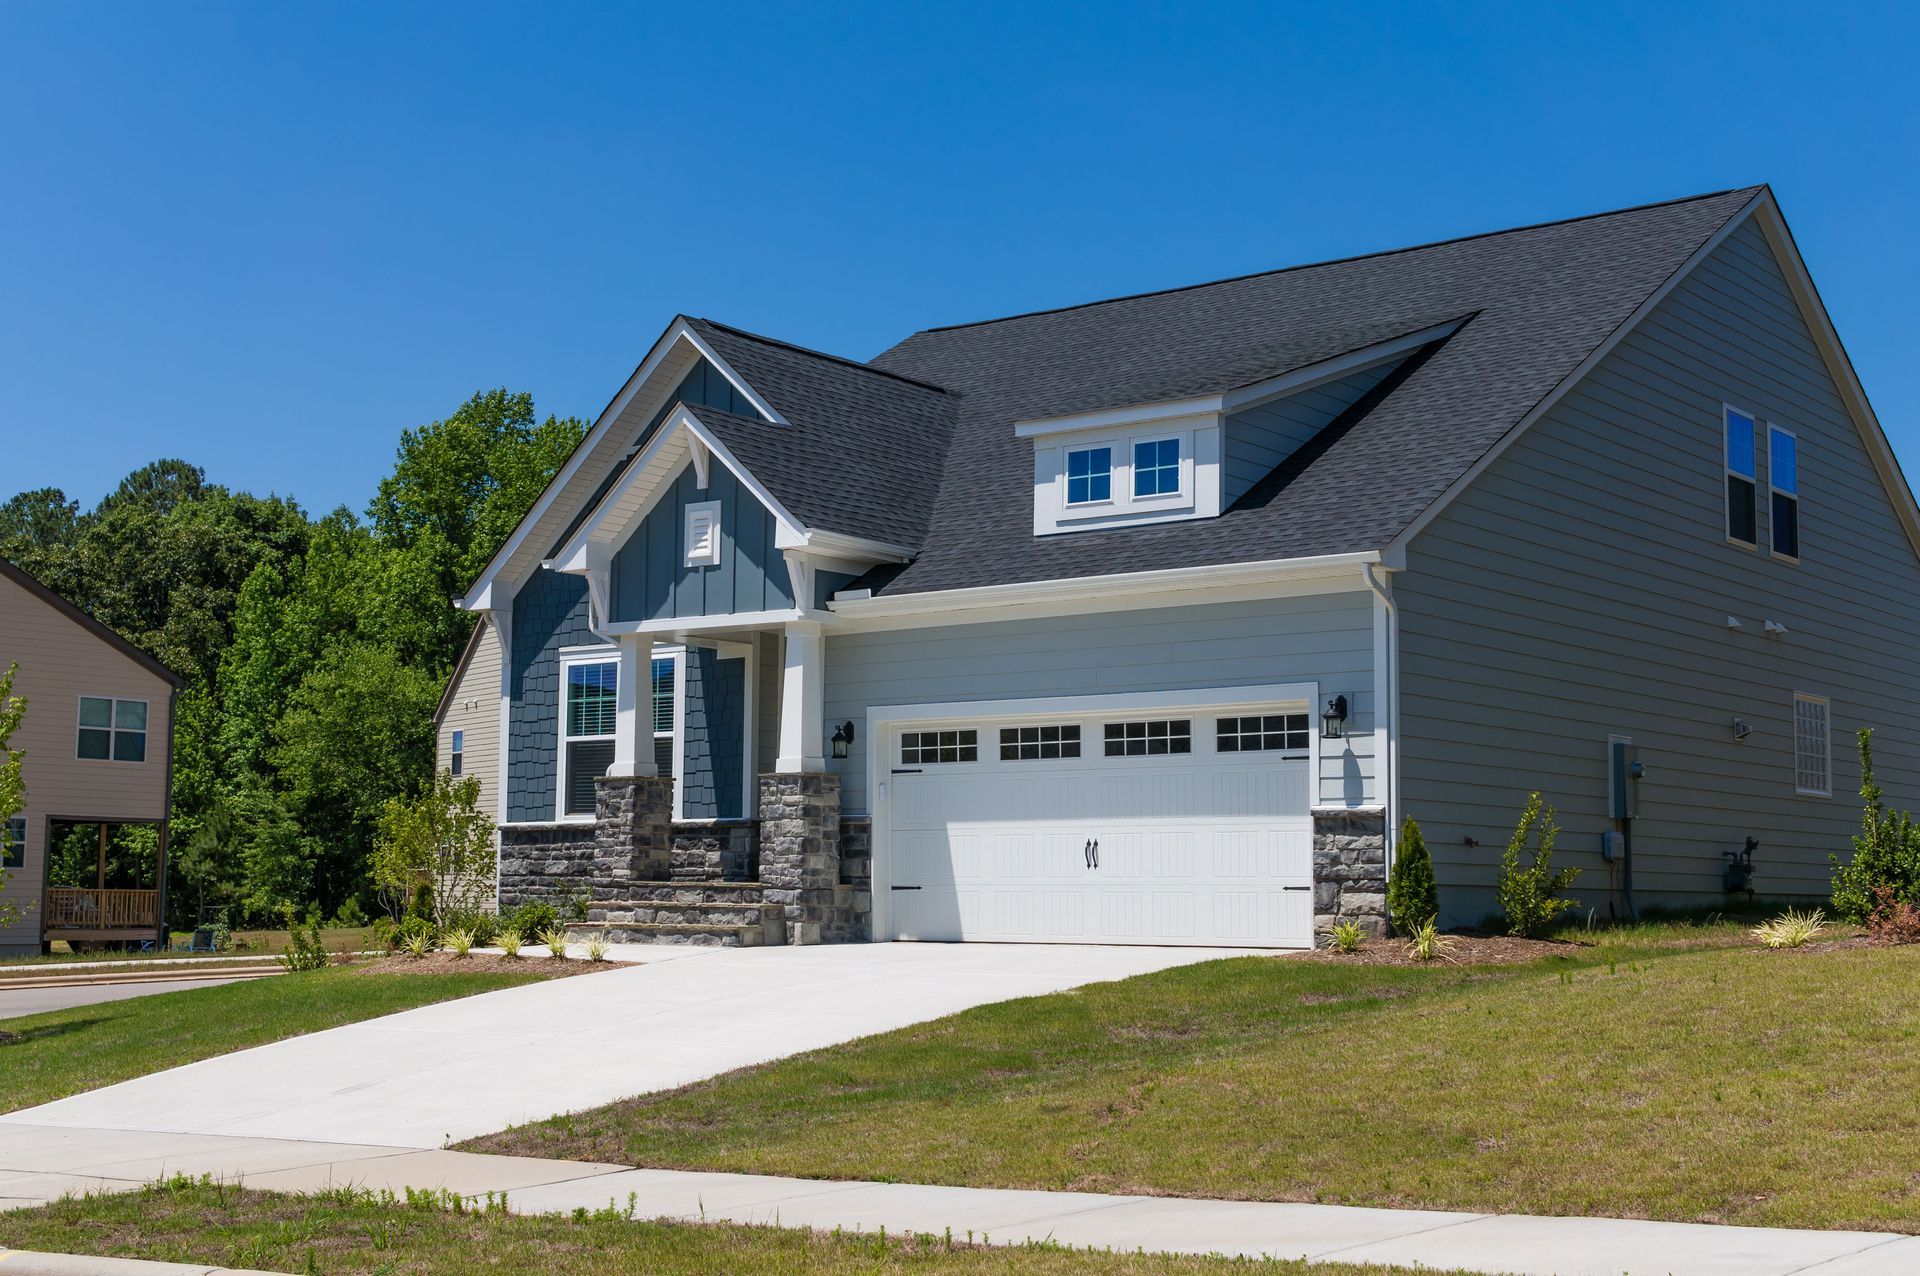
An investment in a new roof enhances your property's curb appeal while providing vital protection through all seasons and weather conditions. Knowing what to expect makes the entire journey straightforward, rewarding, and stress-free for your household. Proper planning turns a major home renovation into a smooth and highly satisfying experience, especially once the crews leave and it's time to enjoy your beautiful home. For top-tier roofing services that safeguard your home against the elements, contact Friend Construction today to schedule your expert consultation.

Share On: